
Content
Computer games are improving every year, impressing gamers with excellent graphics and special effects, and at the same time with the requirements for the technical characteristics of devices. Since not every user can afford to regularly update the hardware, and it becomes obsolete very quickly, few manage to keep up with the manufacturers of gaming products. If the hardware capabilities of the computer do not fully meet the requirements of the game, even when the software is launched, this will certainly affect the quality of the gameplay. So, immediately or after some time, the player may be thrown out of the game, there are failures, bugs, brakes and other unpleasant moments are observed that spoil the impression of the gameplay.
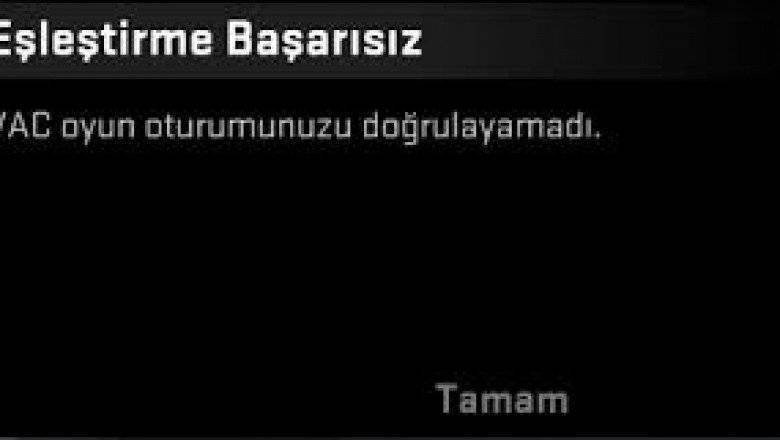
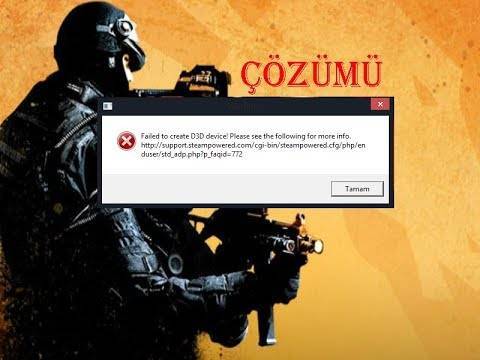
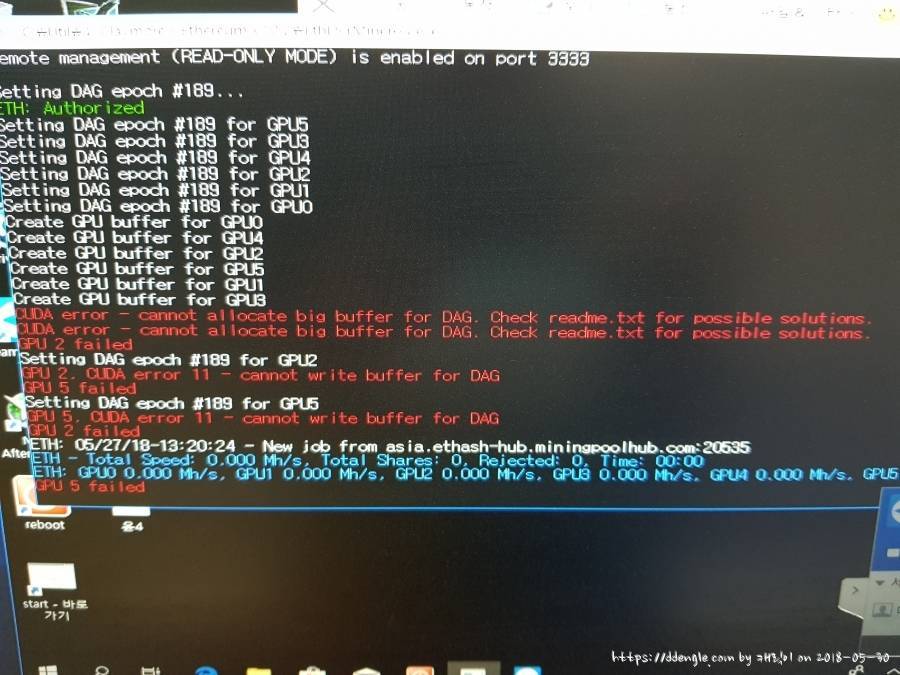
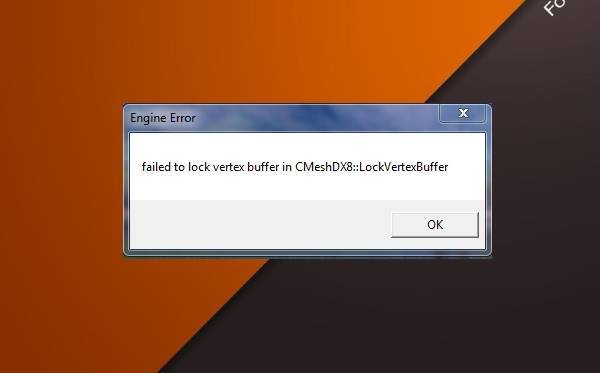
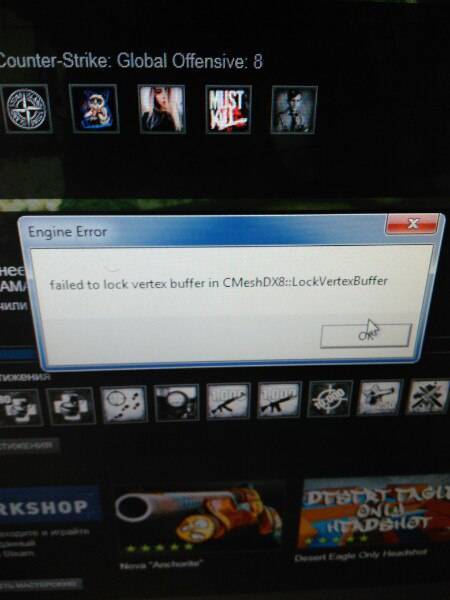
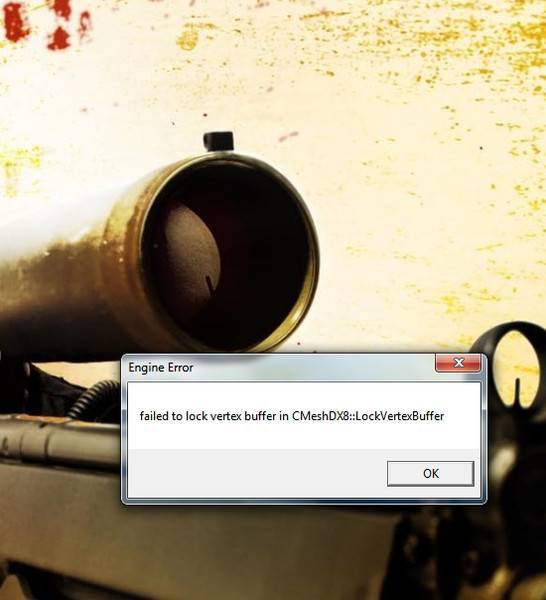
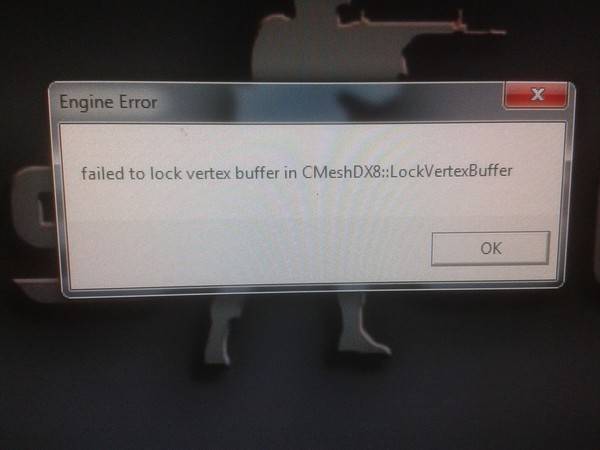
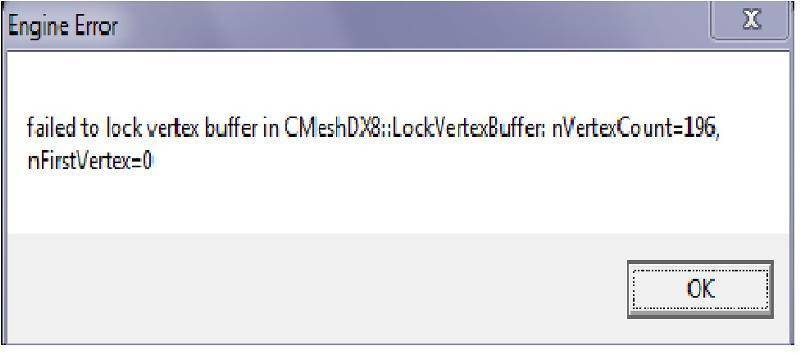
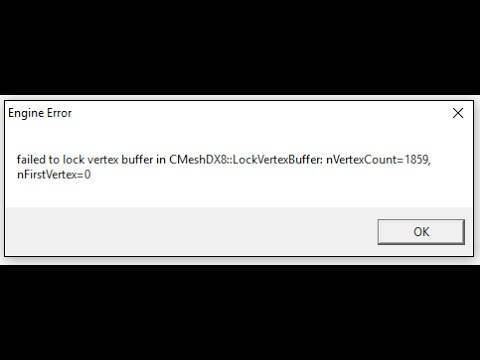
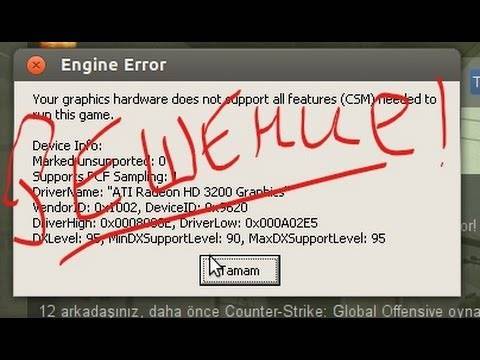
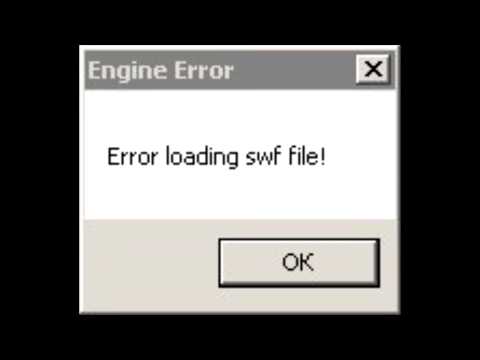
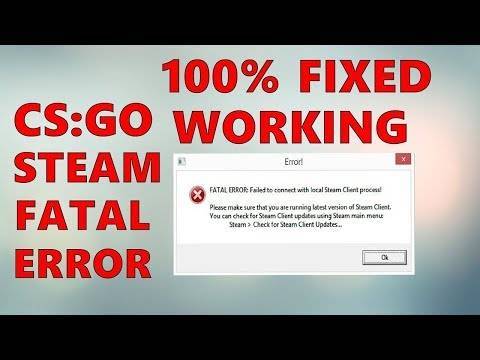
One of the errors, typical for the most part for the shooter Counter Strike: Global Offensive, but at the same time appearing in other games at launch (usually running on Steam), is “Failed to lock vertex buffer in CMeshDX8”. Why a failure occurs and how to fix it, we will consider.
Cleaning and optimization
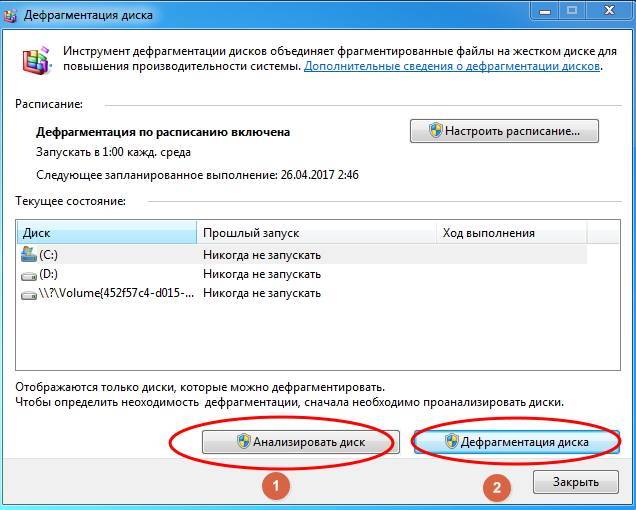
First of all, eliminating the “Failed to lock vertex buffer in CMeshDX8”, you should start deleting unnecessary files from the computer that take up precious space and defragment the disk. This can be done using special software or manually. The procedure is performed as follows:
- Open Explorer (using the Win + E keys, through the Start menu or launch from the “This PC” shortcut on the desktop).
- We press RMB on the system disk (usually it is C, but in some cases another letter may be assigned) and select “Properties” from the context menu.
- In the window that opens, press the “Disk Cleanup” button and wait for the analysis to finish.
- We tick off all the items in the window that appears, press the “Ok” button and confirm the action.
We repeat the same procedure for other partitions, after which, after returning to the “Properties” of the system disk, go to the “Service” tab and click “Optimize”. In the window that opens, we optimize the disks one by one.
Как исправить ошибку?
Устранить появившуюся ошибку можно разными способами, использование каждого из которых зависит от определенных обстоятельств. Где-то потребуется просто обновить плагин DirectX, а где-то и вовсе перезагрузить компьютер.
Способ 1: обновление DirectX
DirectX – набор компонентов операционной системы, позволяющий компьютерным играм взаимодействовать с видео- и аудиоустройствами. Данный плагин обязательно будет установлен на ПК, с которого хоть раз запускались какие-либо игры. Довольно часто в работе утилиты встречаются сбои, поэтому ее приходится переустанавливать. Чтобы сделать это правильно, рекомендуем воспользоваться инструкцией:
- Одновременно нажимаем по клавишам Win + R.
- В появившемся окне вводим команду «dxdiag.exe» и нажимаем «Ок».
- На экране должно открыться окно, где в последней строке указана текущая версия DirectX. Стоит отметить, что для каждой версии операционной системы параметры свои: Windows XP – DirectX 9, Windows 7 – DirectX 11, Windows 8, 10 – DirectX 12.
Просмотр версии DirectX
- Теперь запускаем браузер и в поисковой строке вводим запрос: «Скачать DirectX *», где вместо звездочки указываем нужную версию. Скачивать плагин рекомендуется только с официального сайта
- После загрузки выполняем установку. Только во время этого процесса внимательно просматривайте каждый шаг, и не забудьте убрать галочку в пункте «Установка панели Bing». Если этого не сделать, то на компьютер будет дополнительно установлена сторонняя программа.
Выполняем установку DirectX
Теперь перезагрузите ПК и попытайтесь открыть CS:GO. Скорее всего, ошибка «Failed to lock vertex buffer in CMeshDX8::LockVertexBuffer» исчезнет.


Способ 2: изменение распределения памяти
Нередко на слабых компьютерах ошибка появляется из-за того, что игре не хватает оперативной памяти. Особенно это актуально при одновременном запуске нескольких программ. Чтобы справиться с проблемой, желательно выполнить следующее руководство:
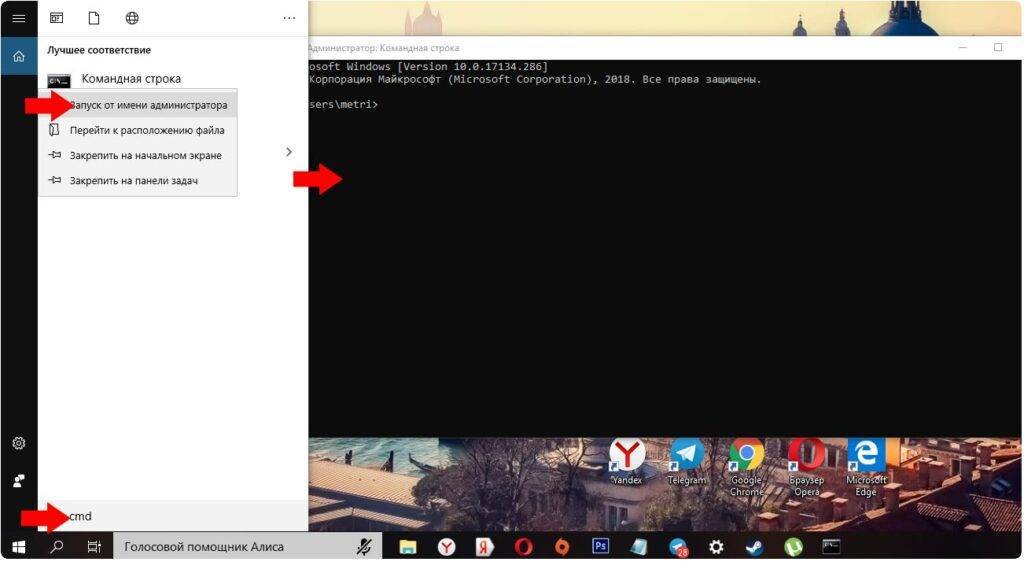
- Открываем меню «Пуск».
- Вводим cmd и нажимаем «Enter».
- В командной строке укажите запрос «bcdedit» и нажмите «Enter».
Вводим запрос «bcdedit»
- Далее в подразделе «Диспетчер загрузок Windows» найдите строку «Идентификатор» и куда-нибудь запишите значение из правой колонки. Оно может пригодится в случае восстановления.
- Теперь вводим команду «bcdedit /deletevalue increaseuserva» и нажимаем «Enter».
Способ 3: обновление драйверов видеокарты
Устаревшие драйвера могут привести к медленной работе системы, а также к появлению ошибок. Чтобы этого не допустить, рекомендуем обновить драйвера видеокарты. Сделать это правильно поможет пошаговая инструкция:
- Откройте меню «Пуск» и введите запрос «Диспетчер устройств».
- Теперь в открывшемся окне кликните по строке «Видеоадаптеры» и просмотрите название и модель видеокарты.
Узнаем модель видеокарты
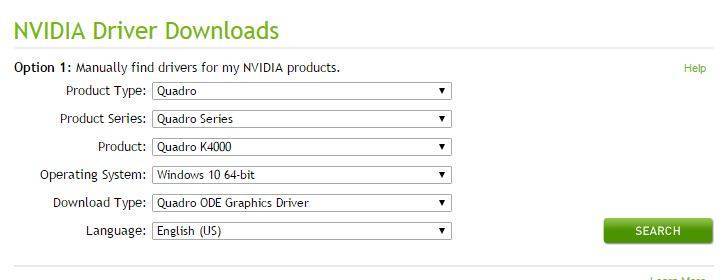
- Далее открываем браузер и переходим по одному из адресов: NVidia – https://www.nvidia.com/Download, AMD – http://support.amd.com/ru-ru/download.
- На каждом из сайтов ищем и загружаем последние версии драйверов.
Загружаем драйвера с официальных сайтов
После этого выполняем простую установку и перезагружаем компьютер.
Альтернативный способ устранения ошибки
Данный метод был написан игроком на одном из англоязычных форумов CS:GO, поэтому в его работе нельзя быть полностью уверенным. Краткая инструкция:
- Удаляем CS:GO в Steam (кликаем правой кнопкой по игре и выбираем «Удалить содержимое».
- Удаляем программу Steam с компьютера, кроме папок “STEAMAPPS”, “USERDATA”, а также файла STEAM.EXE. Перед этим действием сохраните свой cfg и файл video.txt. В данном файле предварительно исправьте значение в «setting.mat_queue_mode» на «-2».
- Теперь открываем программу CCLeaner и чистим реестр.
- После перезагружаем компьютер и еще раз повторяем процедуру очистки.
- В папке Steam запускаем файл Steam.exe от имени администратора.
- Ожидаем пока Steam обновится и устанавливаем CS:GO.
Судя по отзывам, метод действительно рабочий и заслуживает внимания.
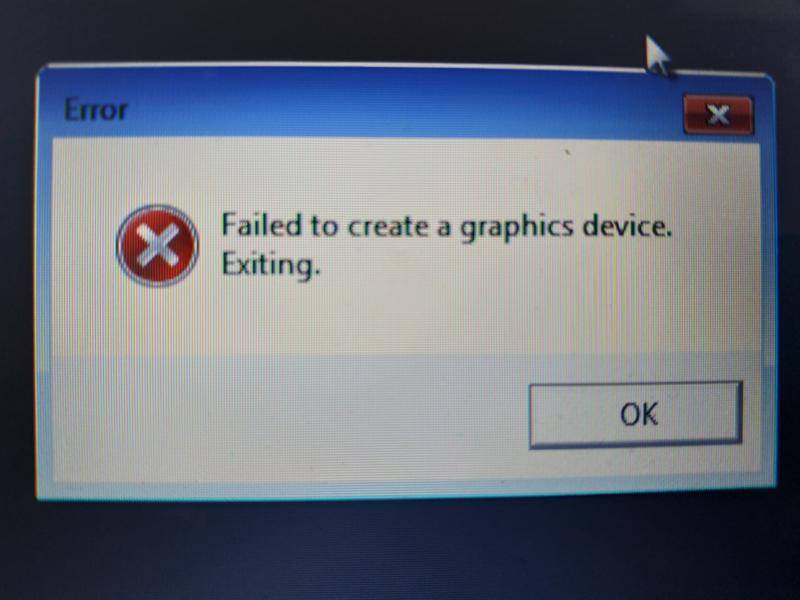
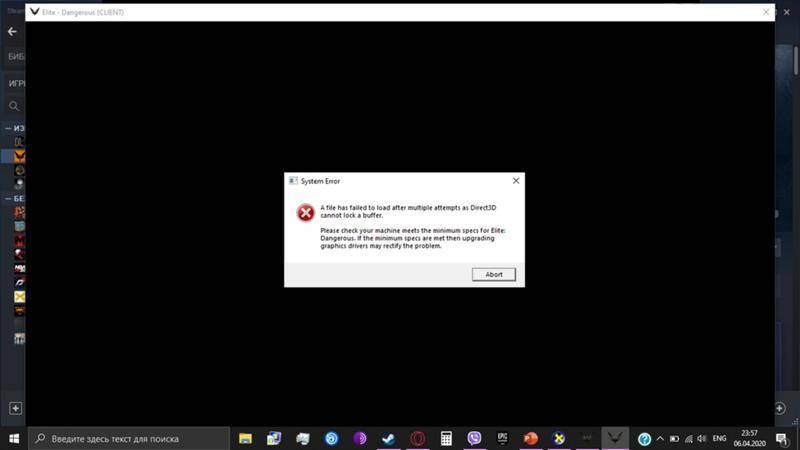
What causes the error “Failed to lock vertex buffer in CMeshDX8 :: LockVertexBuffer”
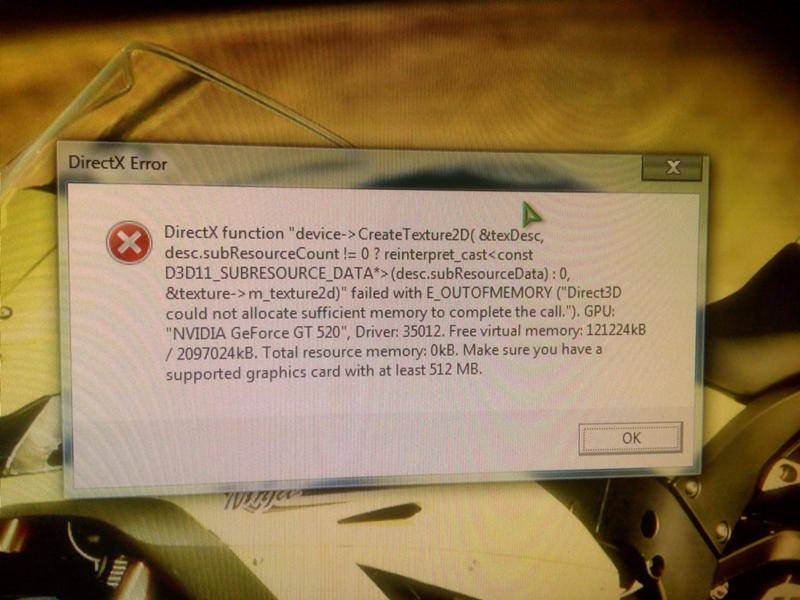
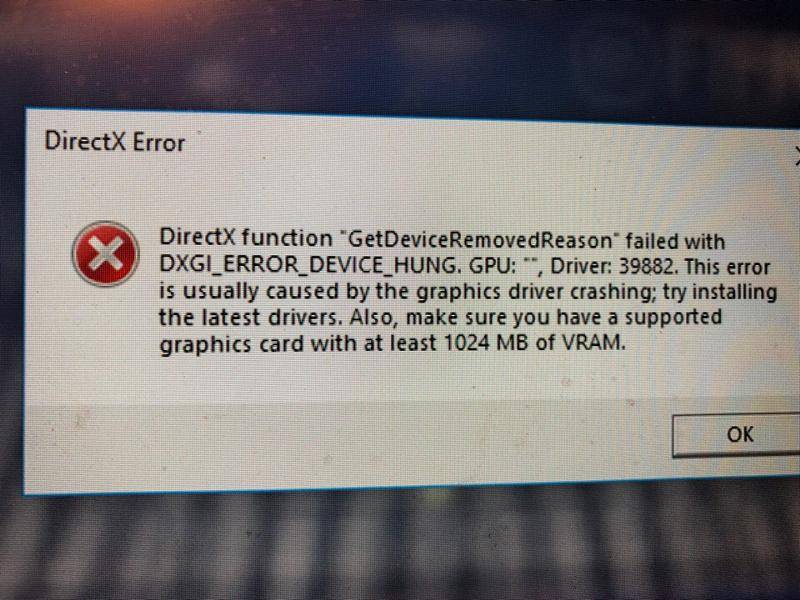
Usually, a problem message appears at the start of the game or already during the gameplay. The error “Failed to lock vertex buffer in CMeshDX8 :: LockVertexBuffer” is a frequent guest on weak computers that do not have enough RAM for the full functioning of the software. So, the most common source of the problem is the lack of memory in the paged pool. An error can also be caused by using the Alt + Tab key combination to switch between windows during the game, while the computer is not able to allocate the required amount of memory to display graphic elements when switching to the game window. In addition, the problem may be related to an outdated video card driver.


Updating the graphics card driver
Outdated device drivers are a common culprit for crashes, including game crashes. Updating your graphics card driver is simple:
- go to the “Device Manager” (using the “Run” console (Win + R) and the “msc” command, Control Panel or another convenient way);
- in the list of devices we find and open the branch “Video adapters”;
- select your video card, press RMB and “Update drivers”;
- select the automatic driver search option and click “Update configuration”.
Drivers usually come on a disk complete with a video adapter, but if the media is not at hand, you can always find and install the latest software from the official website of the NVidia or AMD developer, specifying the device model when searching for software. After restarting the computer, you can check if the error is goneFailed to lock vertex buffer in CMeshDX8 “.
The above methods are effective remedies for this failure, and usually one of them gets out of the trouble.
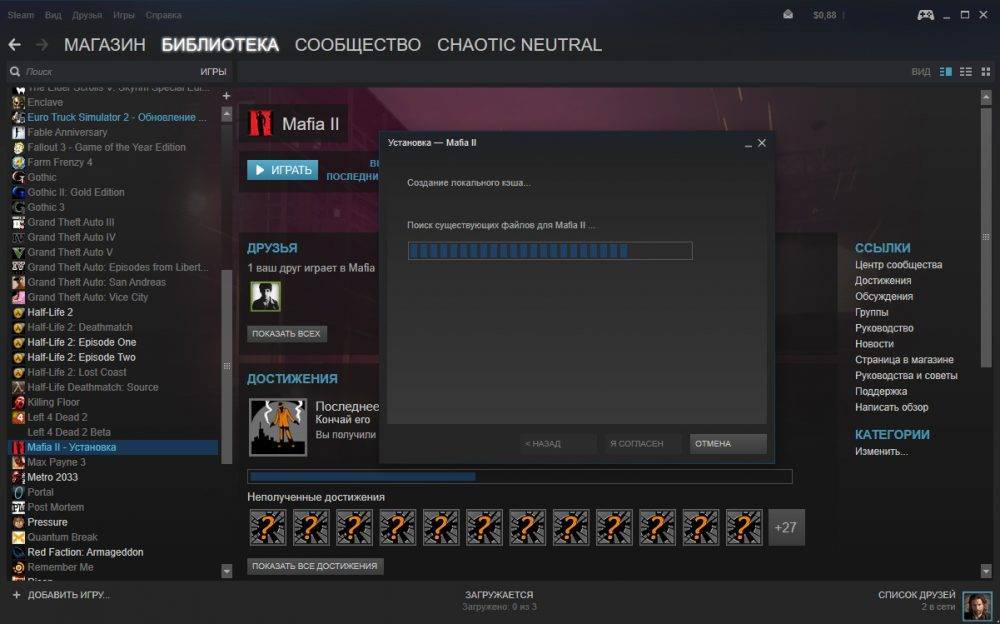
Removing Steam and reinstalling the game
To delete files of the Steam library, perform the following actions:
- We go to the folder where Steam is located (you can find out the location of the object by clicking on the RMB shortcut – “File Location”).
- Select all the items and folders here, except for the executable file “steam.exe” and the directories “UserData” and “SteamApps” (they should remain), and delete. Also, remove the library shortcut from the desktop. To keep the game and video settings, we also leave the cfg and video.txt configuration files.
- We launch the executable as administrator (the executable file can also be called simply “Steam” without specifying its extension) by clicking on it with RMB and selecting the appropriate option.
- We are waiting for Steam to update and download the necessary elements.
We try to restart the game and see if the error has disappeared. If it appears again after deleting the Steam files, you should reinstall the game by completely removing it from the computer in the standard way along with the residual files and downloading again.
To remove CS: GO, follow these steps:
- We go to the Control Panel (through the Start menu, a shortcut on the desktop if available, search or using the Run console (Win + R) and the control command) and in the Programs and Features section select software from the list, press RMB – “Delete”, we confirm the intention.
- An alternative way to uninstall in Windows 10 is to use the “Settings” tab (Win + I). In the “System” section, open “Applications and Features”, find the required program in the list and delete it.
- After removing the game, we use third-party tools to get rid of residual files, including entries in the registry, or clean it manually.
Care should be taken when working with the registry, as incorrect actions can lead to undesirable consequences and even to system failure. It is recommended that you make a backup before making any changes.
To manually clean the system registry after deletion:
- open the registry editor (using the “Run” console (Win + R) and the “regedit” command);
- to make a copy of the registry, click “File” – “Export” and select the location on the disk where you want to export the copy (to restore the copy, click “File” – “Import”);
- to remove elements related to the program, go to the “Edit” tab and click the “Find …” item (or Ctrl + F);
- enter the exact name of the product in the search field and click “Find Next”;
- the registry window will display CS: GO-related files and folders that you can delete.
After cleaning the system from residual software files, delete the Steam files again, and you can install the game.
Windows Disk and Registry Cleanup Tools
Since manual cleaning and working with the registry will take more time and skills, many users resort to using special software that allows them to perform the task in an automatic mode. Examples of products in this category are:
- CCleaner is a simple and convenient optimization tool that allows you to easily clean the system from software junk and the registry from errors;
- Advanced System Care – a set of utilities that allow you to optimize your computer, getting rid of system junk, malicious software, as well as fix errors in the registry and much more;
- Auslogics Registry Cleaner is an efficient and easy-to-use utility for cleaning the registry from invalid or unused entries;
- Wise Registry Cleaner – the application detects errors in the registry and informs about which changes are safe and which can lead to problems.
System optimization programs are tools from the “must have” set of every gamer and common user.
DirectX update
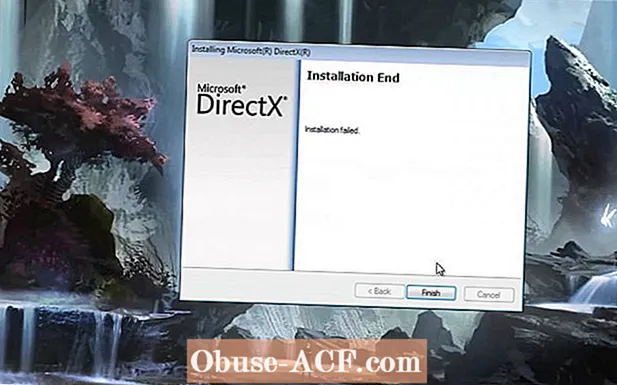
The error can be caused by incorrect installation or damage to DirectX (a package of components for solving problems related to programming under Windows). With this set of development tools, games can interact with video and audio devices. You can download the latest version of the package on the Microsoft website, it also usually comes with the game product, but in case of failures and errors, DirectX may require reinstallation. To do this, we perform the following actions:
- To begin with, we launch the DirectX diagnostic tool, for which we turn to the Run console (Win + R), where we enter the dxdiag.exe command and press Enter.
- In the window that opens, information about the system and devices is available. On the “System” tab, among other information at the bottom of the list, we find DirectX (for each OS version, the parameters are different, for example, for XP DirectX 9, for “Seven” DirectX 11, and for Windows 8 or 10 – DirectX 12).
- After that, download the required version of the package to your computer from the official website.
- Install DirectX, while controlling the installation process, during the installation, uncheck the “Install Bing Bar” item before clicking “Next”, since we do not need optional third-party programs.
- Reboot and check if the error is gone.